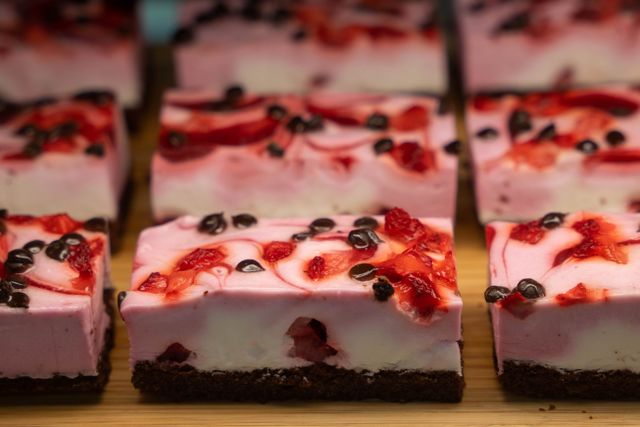
Discover irresistible Labor Day dessert bars perfect for summer parties. From classic to no-fuss variations, these travel-friendly desserts for picnics and sheet cake alternatives deliver crowd-pleasing flavors with simple instructions and pro tips.
Table of Contents
Labor Day Dessert Bars
Labor Day Dessert Bars offer the ideal sweet finale for end-of-summer gatherings. These handheld treats combine the convenience of sheet pan baking with flavors that celebrate the season—juicy berries, ripe peaches, rich chocolate, and tangy citrus. Whether hosting a backyard BBQ or contributing to a neighborhood potluck, Labor Day dessert bars travel well, serve easily, and satisfy groups of all sizes without last-minute stress.
This comprehensive guide explores everything needed to create standout these bars. It covers the science behind key ingredients, precise step-by-step instructions with both US and metric measurements, multiple variations, storage solutions, and expert troubleshooting. The result is reliable, delicious bars that enhance any Labor Day weekend recipes lineup.
Why Labor Day Dessert Bars Excel for Holiday Celebrations
Labor Day marks the unofficial close of summer, with families gathering for one final outdoor feast. Labor Day dessert bars shine here because they are portion-controlled, easy to transport, and versatile enough for different preferences. Unlike layered cakes that require careful slicing or ice cream that melts quickly, these bars hold up well in warmer temperatures when prepared properly.
Their structure—typically a sturdy base, flavorful filling, and optional topping—makes them travel friendly desserts for picnics and easy potluck desserts for a crowd. A standard 9×13-inch pan yields 24–36 servings, scaling effortlessly for larger groups. Many recipes double as simple sheet cake for a crowd alternatives, offering similar visual appeal in a more portable format.
The Science Behind Perfect Labor Day Dessert Bars
Understanding ingredient roles ensures consistent, bakery-quality results every time.
Flour provides structure through gluten development. All-purpose flour strikes the right balance for tender yet sturdy bars. Too little gluten yields crumbly results; too much creates toughness. In metric terms, precise weighing (e.g., 240–300g per batch) prevents density variations common with volume measuring.
Sugars influence moisture, browning, and texture. Granulated sugar promotes crisp edges and spread, while brown sugar (with molasses) adds chewiness and moisture retention due to its hygroscopic nature. This is crucial for desserts that travel well in heat, as it helps bars stay soft longer.
Fats like butter or oil create tenderness. Butter contributes flavor and aids in creaming for aeration, trapping air for lighter texture. Melting butter or using oil in no-bake versions simplifies preparation for no fuss dessert bars recipe styles.
Leavening agents such as baking powder or soda generate lift. Baking powder (double-acting) provides rise during mixing and baking, ideal for cakey bars. Science note: Acidic ingredients (lemon juice, yogurt) activate baking soda for additional lift and flavor balance.
Eggs act as binders, emulsifiers, and moisture providers. The proteins coagulate during baking for structure, while yolks add richness. Room-temperature eggs incorporate better, creating stable emulsions.
Add-ins like fresh fruit release pectin and juices during baking, naturally thickening fillings. Berries and stone fruits peak in late summer, making them perfect for Labor Day. Chocolate chips or nuts add contrast in texture and flavor stability.
These principles apply across recipes, ensuring best desserts for backyard BBQ success.
Classic Cherry Pie Bars: A Labor Day Favorite
This recipe delivers tangy-sweet cherry filling between buttery layers. It serves as an excellent base for adaptations.
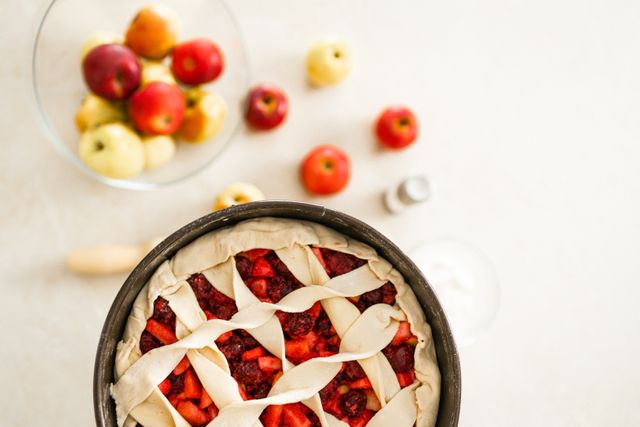
Classic Cherry Pie Bars
Ingredients
Method
- Preheat oven to 375°F (190°C). Grease or line a 9×13 inch (23x33cm) baking pan with parchment paper, leaving an overhang on the sides for easy removal.
- In a large bowl, whisk together the flour, granulated sugar, baking powder, and salt. Cut in the cold butter using a pastry cutter or fork until pea sized crumbs form. Stir in the egg until the dough just comes together. Divide the dough roughly in half.
- Press half the dough firmly and evenly into the prepared pan. Bake for 10 to 12 minutes until lightly golden. This partial bake sets the base so it does not turn soggy under the filling.
- Spread the cherry pie filling evenly over the warm base. If using fresh cherries, combine them with sugar, cornstarch, lemon juice, and almond extract in a saucepan and cook over medium heat until thickened, about 5 to 7 minutes, stirring constantly.
- Crumble the remaining dough evenly over the filling. Bake for 35 to 45 minutes until the top is golden brown and the filling is bubbling.
- Cool completely in the pan on a wire rack, at least 1 to 2 hours. For the glaze, whisk the powdered sugar with milk and vanilla until smooth, then drizzle over the cooled bars.
- Lift the bars out using the parchment overhang and cut into squares with a sharp knife, wiping the blade clean between cuts.
Notes
- Weigh the flour rather than using volume measurement for consistent results.
- Bars can be made 1 to 2 days ahead. Store wrapped tightly at room temperature for 2 days or in the fridge for up to 5 days.
- Freeze cut bars in a single layer, then bag for longer storage. Thaw overnight in the fridge.
Ingredients (US / Metric for 9×13-inch pan, ~24 bars)
Crust & Topping:
- 3 cups (360g) all-purpose flour
- 1 cup (200g) granulated sugar
- 1 teaspoon (5g) baking powder
- ½ teaspoon (3g) salt
- 1 cup (226g) cold unsalted butter, cubed
- 1 large egg (50g), lightly beaten
Filling:
- 4 cups (about 2 21-oz cans or 840g) cherry pie filling (or homemade: 5 cups/750g fresh or frozen pitted cherries, ½ cup/100g sugar, 2 tbsp/15g cornstarch, 1 tbsp/15ml lemon juice)
- 1 teaspoon (5ml) almond extract (optional)
Glaze (optional):
- 1 cup (120g) powdered sugar
- 2–3 tablespoons (30–45ml) milk
- ½ teaspoon (2.5ml) vanilla extract
Step-by-Step Instructions
- Preheat oven to 375°F (190°C). Grease or line a 9×13-inch (23x33cm) baking pan with parchment, leaving overhang for easy removal.
- Prepare crust mixture: In a large bowl, whisk together flour, granulated sugar, baking powder, and salt. Cut in cold butter using a pastry cutter or fork until pea-sized crumbs form. This creates a shortbread-like texture through minimal gluten development. Stir in the egg until the dough just comes together. Divide roughly in half.
- Form base: Press half the mixture firmly and evenly into the prepared pan. Bake for 10–12 minutes until lightly golden. This partial bake sets the base to prevent sogginess from the juicy filling.
- Assemble filling: Spread cherry pie filling evenly over the warm base. If using fresh cherries, combine with sugar, cornstarch, lemon juice, and almond extract in a saucepan; cook over medium heat until thickened (about 5–7 minutes, stirring constantly). The cornstarch gelatinizes starches at around 180–190°F (82–88°C), creating a stable filling.
- Add topping: Crumble the remaining dough evenly over the filling. Bake for 35–45 minutes until the top is golden brown and filling bubbles. Internal temperature near 200°F (93°C) ensures proper setting.
- Cool and glaze: Cool completely in the pan on a wire rack (at least 1–2 hours). For glaze, whisk powdered sugar with milk and vanilla until smooth; drizzle over cooled bars.
- Cut and serve: Lift using parchment and cut into squares or rectangles with a sharp knife. Wipe blade between cuts for clean edges.
Yield: Approximately 24 bars. Total time: 1 hour 15 minutes active + cooling.
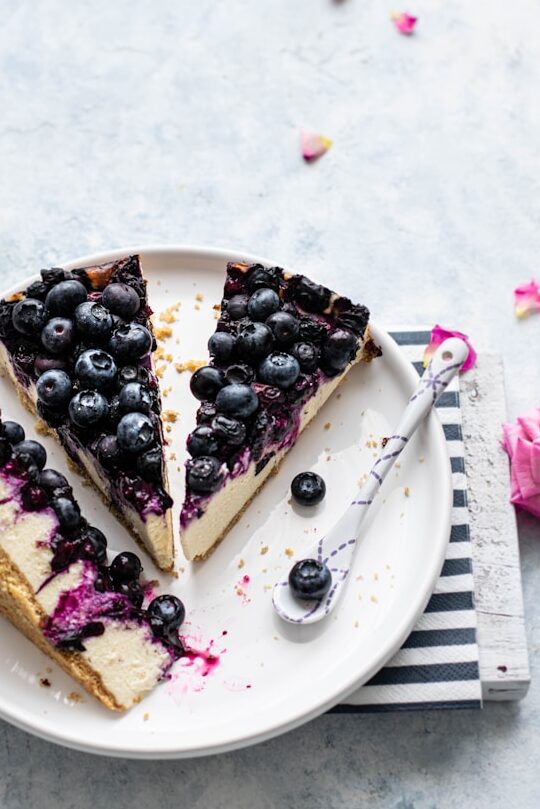
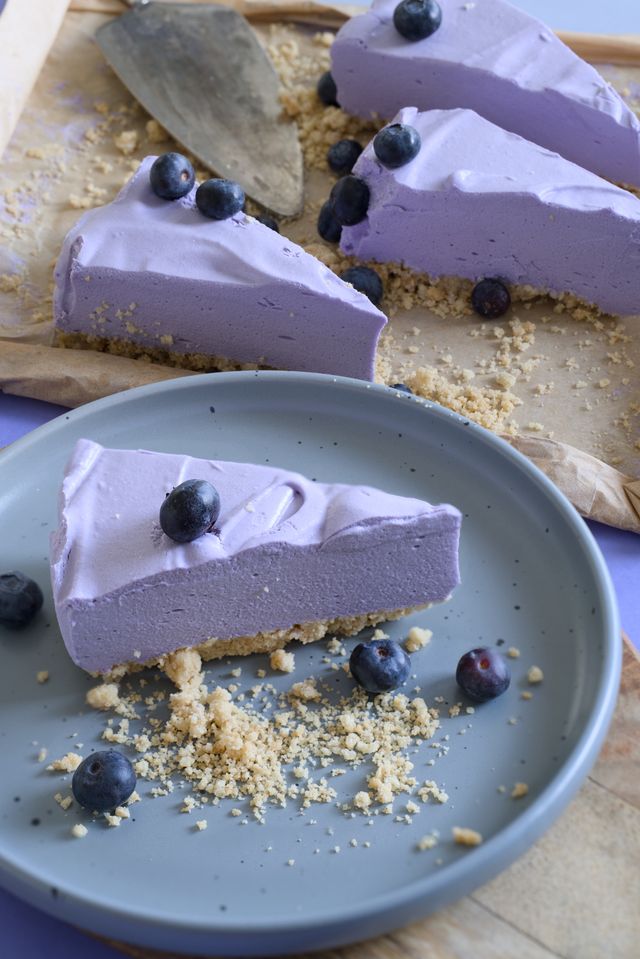
Blueberry Lemon Cheesecake Bars
These creamy, tangy bars provide a no-bake or baked option, ideal for warmer days.
Ingredients (US / Metric)
Crust:
- 2 cups (200g) graham cracker crumbs
- ½ cup (113g) unsalted butter, melted
- ¼ cup (50g) granulated sugar
Filling:
- 16 oz (454g) full-fat cream cheese, softened
- ½ cup (100g) granulated sugar
- 2 large eggs (100g)
- ¼ cup (60ml) fresh lemon juice
- Zest of 2 lemons (about 2 tbsp/12g)
- 1 teaspoon (5ml) vanilla extract
- 2 cups (300g) fresh blueberries
Topping (optional): Whipped cream or streusel.
Follow similar assembly: Press crust, pre-bake 8–10 minutes at 350°F (175°C). Beat cream cheese and sugar until smooth (incorporates air for lightness), add eggs one at a time, then lemon and vanilla. Fold in blueberries gently to avoid bursting all at once. Bake 30–35 minutes until center is set but jiggles slightly. Cool gradually to prevent cracking—science of gradual temperature change minimizes contraction stress.
Peach Cobbler Bars
Highlighting late-summer peaches, these evoke classic cobbler in bar form.
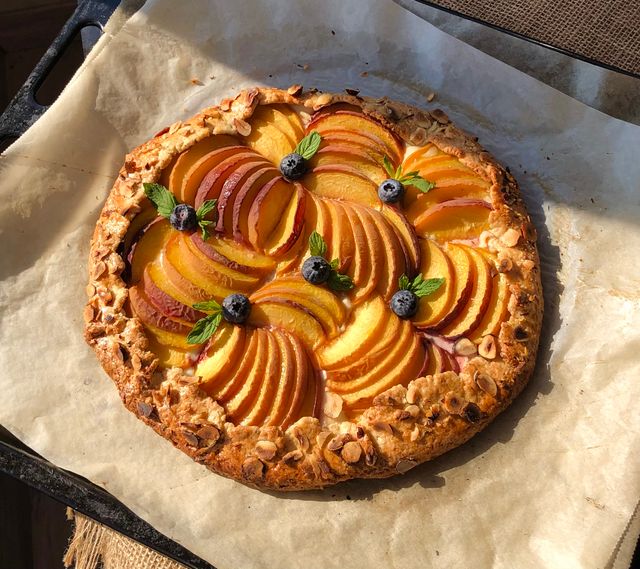
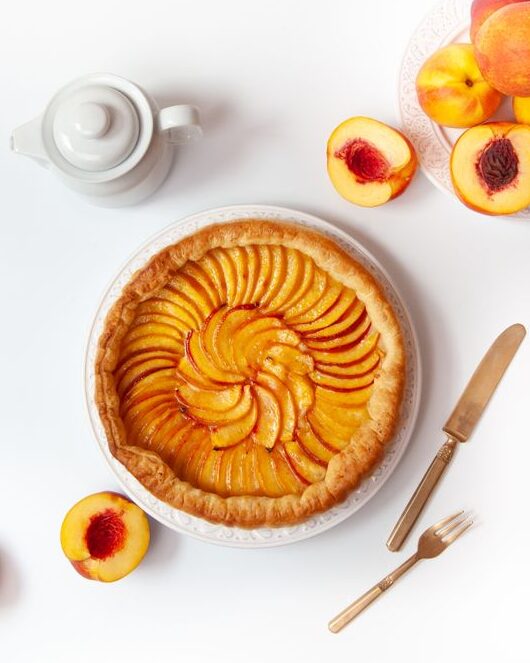
Crust/Topping: Similar to cherry recipe but add ½ cup (50g) rolled oats and 1 tsp cinnamon for texture contrast. Filling: 5–6 medium peaches (about 1.5 lbs/680g), sliced; toss with ⅓ cup (67g) brown sugar, 2 tbsp (15g) cornstarch, 1 tsp (5ml) lemon juice, and ½ tsp nutmeg. The natural pectin in peaches aids thickening during baking at 375°F (190°C) for 40–50 minutes.
Chocolate Chip Cookie Bars for Labor Day
A simple, crowd-favorite option using one bowl.
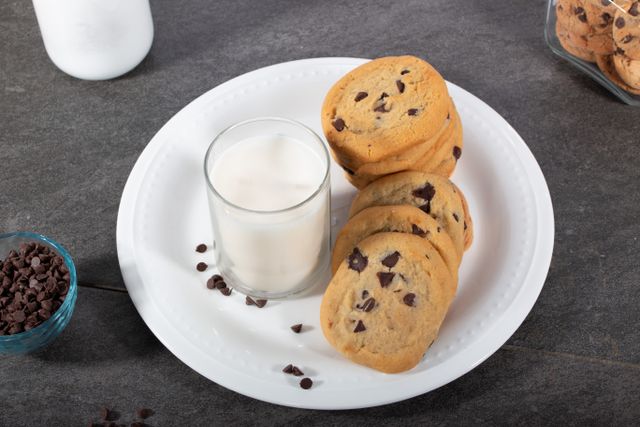
Ingredients: 2¼ cups (270g) flour, 1 tsp (5g) baking soda, 1 tsp (6g) salt, 1 cup (226g) butter, ¾ cup (150g) granulated + ¾ cup (150g) brown sugar, 2 eggs, 2 tsp vanilla, 2 cups (340g) chocolate chips. Method: Cream fats and sugars for aeration, add eggs, then dry ingredients. Fold chips. Bake in 9×13 pan at 350°F (175°C) for 25–30 minutes. The brown sugar’s moisture keeps them chewy even after cooling.
Variations for Labor Day Dessert Bars
Customize base recipes for dietary needs or themes:
- Patriotic Version: Layer strawberries and blueberries with white cheesecake filling for red-white-blue appeal. Use in easy bars for potluck party spreads.
- Vegan Adaptation: Substitute plant-based butter, flax eggs (1 tbsp ground flax + 3 tbsp water per egg), and dairy-free cream cheese. Coconut sugar enhances caramel notes.
- Gluten-Free: Use 1:1 gluten-free flour blend. Add ½ tsp xanthan gum if needed for structure.
- No-Bake Options: For make ahead Labor Day desserts, mix sweetened condensed milk, cream cheese, and fruit; set in fridge over graham crust. Ideal as desserts that travel well in heat when kept chilled.
- Nutty or Savory-Sweet: Add toasted pecans or a sprinkle of sea salt on chocolate versions.
These variations maintain the core appeal of these bars while suiting diverse guests.
Make-Ahead and Storage Tips
Labor Day dessert bars excel as make ahead Labor Day desserts. Most assemble and bake 1–2 days in advance. Cool fully, then wrap tightly in plastic and foil. Store at room temperature for 2 days (non-cheesecake) or refrigerate up to 5 days. For longer, freeze cut bars in single layers, then bag—thaw overnight in fridge.
Transport tips for travel friendly desserts for picnics: Use airtight containers; layer with parchment. Keep cheesecake styles in coolers with ice packs. Avoid direct sun to preserve texture.
Common Mistakes to Avoid
- Overmixing dough: Develops excess gluten, leading to tough bars. Mix until just combined.
- Incorrect measurements: Volume vs. weight—always weigh flour for consistency (spoon-and-level can vary by 20–30%).
- Skipping cooling: Hot bars crumble or become soggy. Allow full cool-down for structure setting.
- Uneven filling: Causes uneven baking. Spread to edges carefully.
- High heat baking: Burns edges before center sets. Stick to moderate temperatures.
- Using cold ingredients: Leads to lumpy batters. Soften cream cheese and bring eggs to room temp.
Following these ensures reliable no fuss dessert bars recipe outcomes.
Serving Suggestions for Labor Day Weekend Recipes
Pair Labor Day dessert bars with vanilla ice cream, fresh whipped cream, or a dusting of powdered sugar. They complement grilled mains in best desserts for backyard BBQ menus and fit seamlessly into larger spreads of easy potluck desserts for a crowd or simple sheet cake for a crowd displays. Cut smaller for tasting tables or larger for generous portions.
How to Plan Labor Day Dessert Bars for Any Size Crowd
One of the biggest challenges with these bars is not the recipe itself, but figuring out how much to make and when to start. Whether hosting five neighbors or fifty family members, having a clear plan removes the stress of last-minute baking.
Scaling Labor Day Dessert Bars by Guest Count
A single 9×13-inch pan of these bars yields roughly 24 standard squares or 36 smaller tasting-size pieces. Use this rough guide when planning quantities:
- 10-15 guests: One 9×13-inch pan (24 bars) is usually enough, especially if other desserts are also on the table.
- 20-30 guests: Prepare two pans, ideally in different flavors (for example, cherry pie bars and chocolate chip cookie bars) so guests have variety without doubling one recipe.
- 40-50 guests: Three to four pans across two or three flavors works well. At this scale, choosing at least one no-bake option (like the blueberry lemon cheesecake bars) helps reduce oven time and stress on the day itself.
- 50+ guests: Consider a sheet pan (13×18-inch, roughly double a standard 9×13) rather than multiple smaller pans. This cuts prep and cleanup time significantly while still yielding 48-60 servings from a single batch.
When mixing flavors for a larger crowd, aim for at least one fruit-based bar, one chocolate-based bar, and one lighter option like a citrus or cheesecake bar. This combination covers the widest range of preferences without overcomplicating the menu.
A Three-Day Prep Timeline
Because Labor Day dessert bars are naturally suited to make-ahead preparation, spreading the work across a few days makes hosting far less stressful.
Two days before: Bake and fully cool any bars with a shortbread or cookie-style base, such as the cherry pie bars or chocolate chip cookie bars. Once completely cooled, wrap tightly and store at room temperature or in the refrigerator, depending on the filling.
One day before: Prepare cheesecake-style bars, since these often taste better after a full night of chilling, which allows the filling to set completely and the flavors to develop. This is also the ideal day to prepare any no-bake versions.
Day of the event: Cut all bars into clean squares just before transporting or serving. Cutting too early can dry out the edges or cause fillings to weep, especially in warm weather. If using a glaze, drizzle it on the morning of the event rather than the night before, so it stays glossy rather than absorbing into the bars.
This timeline works particularly well for Labor Day dessert bars because most versions hold their texture and flavor for two to three days when stored properly, unlike delicate cakes or pies that are best eaten fresh.
Matching Bars to Transport Conditions
Labor Day gatherings often mean transporting dessert bars in warm, late-summer weather, so the format matters as much as the flavor.
- For hot outdoor settings: Choose sturdier, less perishable options like chocolate chip cookie bars or fruit crumble-style bars, which hold up well without refrigeration for a few hours.
- For settings with access to a cooler: Cheesecake-style Labor Day dessert bars work well here, but should be transported in a cooler with ice packs and kept out of direct sunlight until serving time.
- For long car rides: Cut bars slightly larger than usual, since smaller pieces dry out faster during transit and can lose their shape when stacked in a container.
Building a Balanced Dessert Table
When Labor Day dessert bars are part of a larger dessert spread, presentation matters as much as taste. Arrange bars on a single large platter grouped by flavor rather than scattering pieces randomly, which makes it easier for guests to identify options, especially for those avoiding nuts, gluten, or dairy. Labeling each tray with a small card noting the flavor and any allergens is a simple touch that goes a long way at larger gatherings.
For events combining multiple desserts, Labor Day dessert bars work best positioned alongside lighter options like fresh fruit or lemonade, balancing their richness and giving guests variety without overwhelming the table.
With a clear scaling plan, a realistic prep timeline, and transport strategy matched to the weather, these bars become one of the easiest desserts to host around, no matter the size of the gathering.
Choosing the Right Flavor Combinations for Labor Day Dessert Bars
With so many options available, deciding which Labor Day dessert bars to bake can feel overwhelming. The key is thinking about flavor balance, dietary needs, and how each option fits into the overall spread rather than picking recipes at random.
Balancing Rich and Light Options
Good Labor Day dessert bars menus mix textures and intensities rather than repeating the same profile across every pan. If the main meal is heavy, such as grilled burgers, ribs, or barbecue, lighter these bars like the blueberry lemon cheesecake bars offer a refreshing contrast. On the other hand, if the meal is lighter, such as salads or grilled vegetables, richer options like chocolate chip cookie bars or cherry pie bars feel more satisfying to guests.
A simple rule that works well: for every three pans of Labor Day dessert bars prepared, aim for one chocolate-based option, one fruit-based option, and one creamy or citrus-based option. This spread ensures there is something for guests who prefer classic flavors as well as those looking for something tangier or fresher.
Accounting for Dietary Restrictions Without Extra Stress
Rather than preparing entirely separate desserts for guests with dietary restrictions, it is often easier to adapt one pan of Labor Day dessert bars using the variations already outlined earlier in this guide. For example, preparing one gluten-free pan alongside two standard pans means everyone can enjoy these bars without singling anyone out. Labeling each pan clearly, even with a simple handwritten note, helps guests self-select without needing to ask.
For events with a mix of children and adults, milder fruit-based Labor Day dessert bars, such as the peach cobbler bars, tend to appeal across age groups better than options with stronger citrus or coffee-forward flavors.
Matching Bars to the Season’s Peak Produce
Late summer and early fall bring a natural window for fruit at its best, and building Labor Day dessert bars around what is currently in season not only improves flavor but also keeps costs lower. Peaches, blueberries, and early apples are typically at their peak during this window, making them reliable choices for fruit-forward these bars. Cherries, while slightly past their peak by early September in some regions, are often still available frozen or canned, which works well for the cherry pie bar variation without sacrificing flavor.
Choosing seasonal produce for Labor Day dessert bars also means less reliance on added sugar to compensate for underripe fruit, since fruit picked closer to peak ripeness carries more natural sweetness on its own.
A Simple Framework for Final Decisions
When narrowing down which these bars to make, three questions help simplify the choice: What does the main meal already include? Are there any dietary needs among the guest list? And what fruit or flavors are currently in season? Answering these before opening a recipe list turns a potentially overwhelming decision into a quick, practical one, and ensures that the final spread of these bars feels intentional rather than random.
Frequently Asked Questions
1. Can Labor Day dessert bars be frozen?
Yes. Wrap individually and freeze up to 3 months. Thaw in the refrigerator for best texture.
2. How do I make these gluten-free?
Substitute a high-quality 1:1 gluten-free flour blend and verify other ingredients like baking powder.
3. What’s the best way to cut clean bars?
Use a sharp chef’s knife wiped clean between cuts. Chill bars slightly for firmer texture.
4. Are these suitable for hot weather transport?
Most are when using sturdy containers and coolers. Opt for no-bake or fruit-forward desserts that travel well in heat.
5. How many bars does a 9×13 pan yield?
Typically 24–36 depending on cut size, perfect for easy bars for potluck party needs.
These Labor Day dessert bars deliver on flavor, convenience, and celebration. Prepare them confidently for memorable holiday gatherings.