Discover this easy eggless biscuit bars recipe perfect for school snacks. These 15-minute no-bake bars deliver wholesome, kid-approved flavor without an oven. Ideal for lunchboxes and quick energy boosts.
Table of Contents
Eggless Biscuit Bars Recipe
Eggless biscuit bars recipe creations deliver convenient, delicious snacks that families rely on for school days and beyond. These no-bake options combine pantry staples into chewy, satisfying bars ready in minutes.
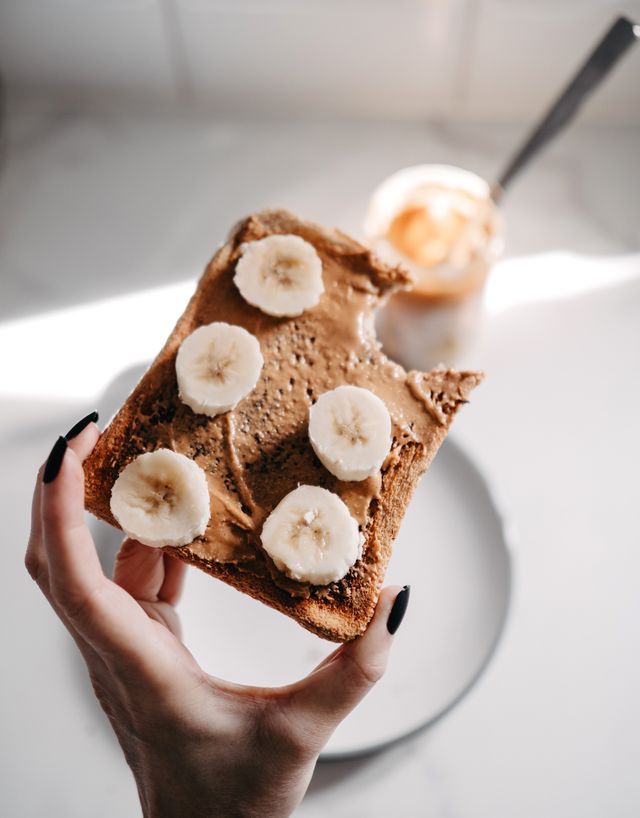
Eggless Biscuit Bars Recipe (Quick 15-Minute No-Bake Treats)
Ingredients
Method
- Prepare the pan: Line an 8×8-inch (20×20 cm) pan with parchment paper, leaving overhang on two sides for easy lifting.
- Crush the biscuits: Pulse digestive biscuits in a food processor until fine crumbs form, or crush in a zip-top bag with a rolling pin. Measure 2 ½ cups (250 g).
- Toast the oats (optional): Spread rolled oats on a baking sheet and toast at 350°F (175°C) for 5-7 minutes until fragrant. Cool completely.
- Combine dry ingredients: In a large bowl, mix crushed biscuits, oats, salt, and chia or flax seeds until evenly distributed.
- Prepare wet binders: Warm condensed milk, peanut butter, honey, and vanilla extract in a microwave-safe bowl for 30-45 seconds, or in a saucepan on low heat for 2 minutes, until smooth and pourable.
- Mix the dough: Pour the warm wet mixture over the dry ingredients. Fold and press with a spatula until no dry spots remain. The dough should feel thick and slightly sticky.
- Add mix-ins: Fold in chocolate chips, dried fruit, and nuts, distributing evenly without overmixing.
- Press into pan: Transfer the mixture to the prepared pan. Press firmly and evenly using the bottom of a measuring cup, aiming for a uniform thickness of about ¾ inch (2 cm).
- Chill: Refrigerate for at least 1 hour, or freeze for 20-30 minutes for faster setting.
- Slice: Lift the bars out using the parchment overhang. Slice into 16 equal squares with a sharp knife, wiping the blade between cuts for clean edges.
Notes
- Store in an airtight container in the refrigerator for up to 10 days, with parchment between layers.
- Freeze individually wrapped bars for up to 3 months.
- For a nut-free, school-safe version, use sunflower seed butter and seed-only mix-ins.
- Bring cold ingredients to room temperature before mixing for better binding.
Benefits of Making Eggless Biscuit Bars Recipe at Home
Homemade eggless biscuit bars recipe options stand out for their simplicity and control over ingredients. They avoid common allergens while providing balanced energy from oats, biscuits, and natural binders. Parents appreciate the speed and reliability for morning routines.
These bars support active kids with sustained fuel from complex carbohydrates and healthy fats. The eggless biscuit bars recipe format allows customization to suit preferences and dietary needs.
no bake biscuit bars for kids offer mess-free preparation that keeps kitchens cool and calm during rushed periods.
Understanding the Ingredients: Science Behind the Eggless Biscuit Bars Recipe
Success in any eggless biscuit bars recipe depends on how ingredients interact. Each component serves a specific purpose in texture, flavor, and structure.
Biscuit Base
Crushed digestive biscuits or graham crackers form the foundation. Their starches absorb moisture and create a firm yet tender crumb. The mild sweetness and subtle vanilla notes enhance overall appeal without overpowering other flavors.
Oats
Rolled oats contribute chewiness and fiber. Beta-glucan in oats helps create a satisfying mouthfeel while supporting steady energy release. Toasting lightly deepens nutty flavors through Maillard reactions.
Binders
Condensed milk or nut butters act as cohesive agents. Sugars in condensed milk provide hygroscopic properties that maintain moisture. Nut butters supply fats that prevent crumbling.
Sweeteners and Flavorings
Honey or maple syrup adds natural sweetness and antimicrobial properties for better shelf life. Vanilla extract enhances perception of other flavors through aromatic compounds.
Add-Ins
Dried fruits, seeds, or chocolate chips introduce contrasting textures. Nuts deliver crunch and healthy fats that slow digestion for longer satiety.
easy school snack recipe eggless approaches emphasize these balanced elements for reliable results every time.
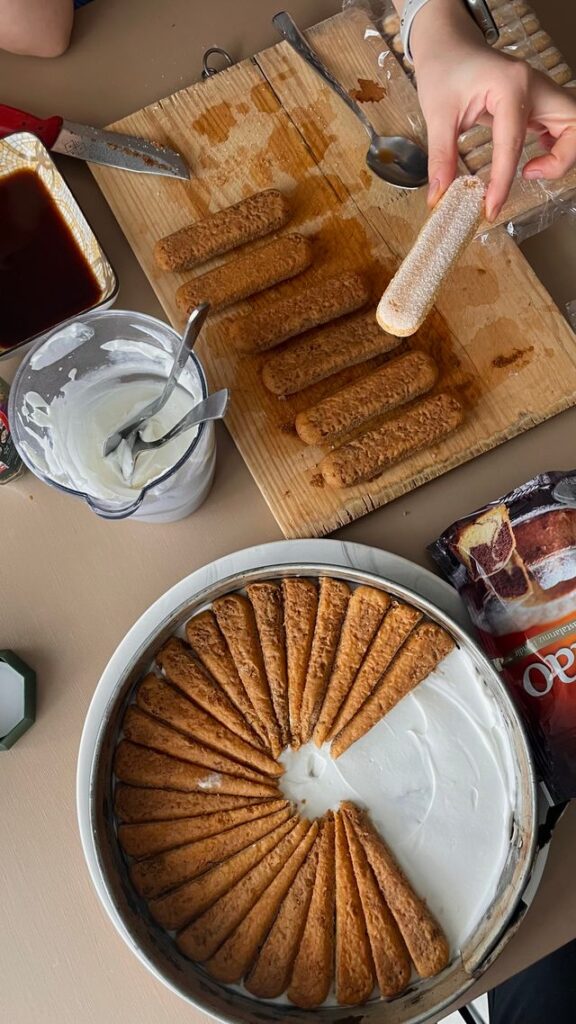
Equipment Needed for this Recipe
- 8×8-inch (20×20 cm) square baking pan
- Parchment paper or silicone liner
- Food processor or rolling pin for crushing biscuits
- Large mixing bowl
- Rubber spatula
- Measuring cups and spoons (US) or digital scale (metric)
Line the pan with parchment for easy removal.
Step-by-Step Instructions
This eggless biscuit bars recipe yields 16 bars. Total time is approximately 15 minutes active plus chilling.
Ingredients (US / Metric)
Base:
- 2 ½ cups (250 g) digestive biscuits or graham crackers, finely crushed
- 1 ½ cups (135 g) rolled oats
- ½ cup (120 ml) condensed milk or sweetened condensed coconut milk
- ⅓ cup (80 g) smooth peanut butter or sunflower seed butter
- ¼ cup (60 ml) honey or maple syrup
- 1 teaspoon (5 ml) vanilla extract
- ¼ teaspoon (1.5 g) salt
Mix-Ins (optional but recommended):
- ½ cup (75 g) mini chocolate chips or chopped dark chocolate
- ⅓ cup (40 g) dried cranberries or raisins
- ¼ cup (35 g) chopped almonds or pumpkin seeds
- 2 tablespoons (15 g) chia seeds or ground flaxseed
Instructions
- Prepare the Pan: Line an 8×8-inch (20×20 cm) pan with parchment paper, leaving overhang on two sides for easy lifting. Lightly grease if needed.
- Crush the Biscuits: Place biscuits in a food processor and pulse until fine crumbs form. Alternatively, place in a zip-top bag and crush with a rolling pin. Aim for mostly fine texture with some small pieces for interest. Measure 2 ½ cups (250 g).
- Toast the Oats (Optional but Flavor-Enhancing): Spread rolled oats on a baking sheet and toast at 350°F (175°C) for 5-7 minutes until fragrant. Cool completely. This step improves nutty depth through gentle browning.
- Combine Dry Ingredients: In a large bowl, mix crushed biscuits, rolled oats, salt, and chia or flax seeds. Stir thoroughly to distribute evenly.
- Prepare Wet Binders: In a microwave-safe bowl or small saucepan, gently warm condensed milk, peanut butter (or seed butter), honey (or maple syrup), and vanilla extract. Heat on low until smooth and pourable, about 30-45 seconds in microwave or 2 minutes on stovetop. Stir until fully combined. The mixture should be glossy and fluid.
- Mix the Dough: Pour warm wet ingredients over dry mixture. Use a sturdy spatula to fold and press until no dry spots remain. The dough will be thick and slightly sticky. Work quickly as the mixture firms upon cooling.
- Incorporate Add-Ins: Fold in chocolate chips, dried fruit, and nuts. Distribute evenly without overmixing to preserve texture contrasts.
- Press into Pan: Transfer mixture to prepared pan. Press firmly and evenly using the bottom of a measuring cup or another pan wrapped in parchment. Compact thoroughly for bars that hold shape. Aim for uniform thickness of about ¾ inch (2 cm).
- Chill: Refrigerate for at least 1 hour, or until firm. For faster setting, place in freezer for 20-30 minutes.
- Slice: Lift bars from pan using parchment overhang. Place on cutting board and slice into 16 equal squares or rectangles with a sharp knife. Wipe blade between cuts for clean edges.
quick lunchbox snack bars like these set up reliably when pressed with sufficient force.
Nutritional Profile of the Eggless Biscuit Bars Recipe
Each bar (approximate, base recipe without all add-ins) provides:
- Calories: 180-220
- Carbohydrates: 25-28 g
- Protein: 4-6 g
- Fat: 7-9 g
- Fiber: 2-3 g
Values vary with exact add-ins. The combination supports school-day energy needs.
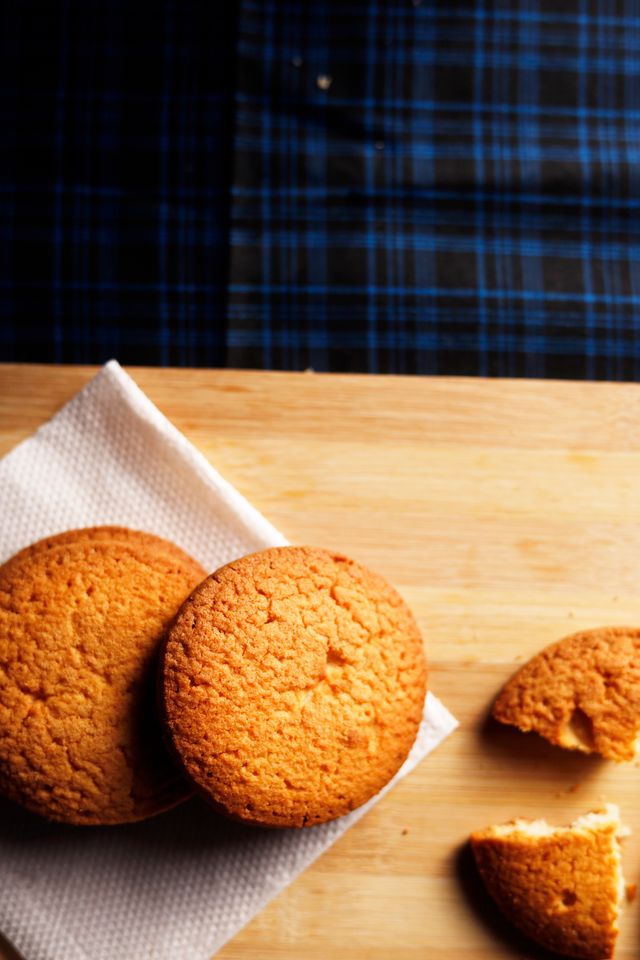
Variations of this Recipe
Adapt the base eggless biscuit bars recipe for variety.
Chocolate Version: Increase chocolate chips to ¾ cup (130 g) and add 2 tablespoons (10 g) cocoa powder to dry ingredients.
Tropical Twist: Use dried mango and pineapple with coconut flakes and lime zest. Replace peanut butter with cashew butter.
Nut-Free School-Safe: Substitute sunflower seed butter and use seed mix-ins only.
Protein Boosted: Add 2-3 tablespoons (15-20 g) vanilla protein powder to dry mix and adjust liquid slightly.
Fruit-Focused: Incorporate mashed banana (about ⅓ cup / 80 g) for natural sweetness and moisture.
kids friendly no bake snacks shine with these flexible options.
Heading: Getting Kids Involved: Turning This Into a Fun Kitchen Activity
Because this eggless biscuit bars recipe requires no oven and no raw egg, it is one of the easier recipes to make alongside children. Involving kids in the process often means they are more excited to eat the final snack, which can help with picky eaters.
Age-Appropriate Tasks
Younger children, around ages 4 to 6, can help with simple, low-risk steps like placing biscuits into a zip-top bag for crushing, measuring out dried fruit, or stirring the dry ingredients together. Children ages 7 and up can usually handle pressing the mixture into the pan and helping slice cooled bars with a butter knife under supervision.
Making It a Weekend Ritual
Many families find success turning the meal prep session described earlier into a shared weekend activity. Set out small bowls with pre-measured add-ins like chocolate chips, dried cranberries, and seeds, and let each child build their own flavor combination in a separate section of the pan. This works especially well when doubling the recipe, since each half of the pan can have a different mix.
Teaching Basic Kitchen Skills
Beyond the fun factor, this recipe offers a low-pressure way to introduce basic skills such as measuring ingredients accurately, following a sequence of steps, and understanding why chilling time matters for texture. Because there is no oven involved, there is more room for kids to observe the full process from start to finish without safety concerns around heat.
A Snack Kids Are Proud Of
Children are often more willing to eat something they helped prepare, even if it contains ingredients like oats or seeds that they might otherwise avoid. Letting them choose their own mix-ins gives them a sense of ownership over their lunchbox snack, which can reduce mealtime battles and food waste.
Storage Tips for Eggless Biscuit Bars Recipe
Store bars in an airtight container in the refrigerator for up to 10 days. Layers of parchment between bars prevent sticking.
For longer storage, freeze individually wrapped bars for up to 3 months. Thaw in refrigerator overnight or at room temperature for 20-30 minutes.
Avoid room temperature storage beyond 2 days in warm climates due to moisture content.
eggless snack bars for school travel well when kept cool in lunchboxes with ice packs.
Meal Prep Guide: Making a Month’s Worth for School Lunches
One of the biggest advantages of this eggless biscuit bars recipe is how well it scales for meal prep. Instead of making a single batch each week, spend 30 minutes on a weekend making a large batch that covers several weeks of school snacks.
Batch Doubling for Freezer Storage
Double or triple the recipe using a 9×13-inch pan for a double batch, or two separate pans for a triple batch. Press and chill as normal, then slice into individual portions once firm. Wrap each bar separately in parchment paper or plastic wrap, then place all wrapped bars into a single large freezer bag. This prevents bars from sticking together and lets you pull out exactly the number needed each morning.
Building a Rotation System
Label the freezer bag with the make date and use a simple rule: oldest bars get used first. Since frozen bars keep well for up to three months, a family can rotate through two or three flavor variations without ever running out. Making the chocolate version one weekend and the tropical twist the next keeps school snacks interesting without extra weekly effort.
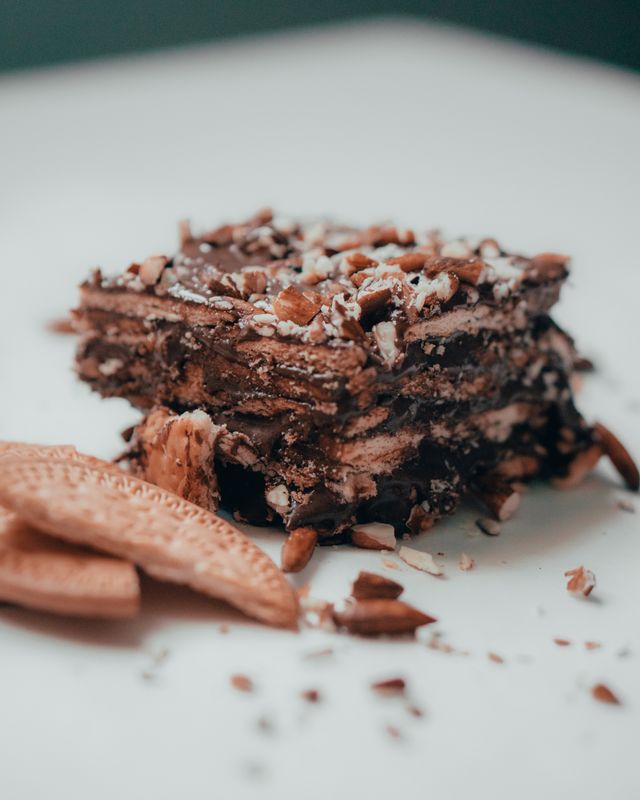
Morning Assembly in Under a Minute
The real time saving happens on school mornings. Pull one bar from the freezer the night before and place it in the refrigerator, or simply add it frozen directly to an insulated lunchbox. By the time the lunch break arrives, the bar will have thawed to a soft, chewy texture, and it also acts as a natural way to keep other lunchbox items cool.
Prepping Ingredients Ahead
For families who prefer baking fresh each week, pre-measure the dry ingredients (crushed biscuits, oats, salt, seeds) into a labeled container that stays shelf stable for up to two weeks. This cuts prep time on the actual baking day to under 10 minutes since only the wet ingredients need to be measured and warmed.
This kind of advance planning turns a 15-minute recipe into an even faster morning routine, which matters most on the busiest school days.
Common Mistakes to Avoid in the Eggless Biscuit Bars Recipe
- Insufficient pressing leads to crumbly bars. Apply firm, even pressure.
- Overheating wet ingredients causes separation. Warm gently.
- Using cold ingredients prevents proper binding. Bring components to room temperature.
- Loose crumb texture results from inadequate crushing or mixing.
- Skipping lining causes sticking. Always use parchment.
- Cutting too soon yields messy edges. Ensure full chilling.
15 minute no bake bars require attention to these details for best texture.
Troubleshooting Guide: Fixing Common Texture Problems
Even with careful measuring, sometimes an eggless biscuit bars recipe does not turn out exactly right on the first try. Here is how to diagnose and fix the most common issues.
Bars Are Too Soft or Will Not Set
This usually means the wet-to-dry ratio was off, or the chilling time was too short. If the mixture feels loose after pressing, do not panic. Return the whole pan to the freezer for an additional 30 to 40 minutes. If the problem persists after chilling, the likely cause is too much condensed milk or nut butter relative to the crushed biscuits and oats. Next time, hold back two tablespoons of the wet mixture and add it gradually, checking the dough’s texture as you go. It should feel like thick cookie dough, not a batter.
Bars Fall Apart When Sliced
Crumbly bars almost always point to insufficient pressing or under measured binder. When pressing the mixture into the pan, use real weight, not just a light pat. A flat-bottomed glass or measuring cup works better than a spatula because it distributes pressure evenly across the surface. If bars still crumble after firm pressing, add one extra tablespoon of honey or condensed milk to the next batch for better cohesion.
Bars Taste Bland
A flat flavor usually comes from skipping the salt or using biscuits with very little inherent sweetness. Do not skip the quarter teaspoon of salt, since it balances the sweetness and makes the other flavors more noticeable. A small pinch of cinnamon or cardamom in the dry mix also lifts the overall taste without adding real preparation time.
Bars Are Too Hard After Freezing
This happens when bars are frozen for longer than recommended or stored at very low temperatures. Simply let frozen bars sit at room temperature for 10 to 15 minutes before serving, especially if packing them for a lunchbox eaten a few hours later.
Mixture Will Not Hold Together While Mixing
If the dry ingredients still look powdery after adding the wet mixture, the biscuits may have been crushed too coarsely, leaving large pieces that do not absorb the binder well. Pulse the biscuits a little longer next time for a finer, more uniform crumb, and add the wet mixture in two additions rather than all at once.
Diagnosing these issues before your next batch means fewer wasted ingredients and more consistent results.
Eggless Biscuit Bars Without Oven: Why This Method Excels
The no-oven approach preserves nutrients and simplifies cleanup. It suits apartments, busy schedules, and warmer months.
eggless biscuit bars without oven deliver consistent results across kitchens.
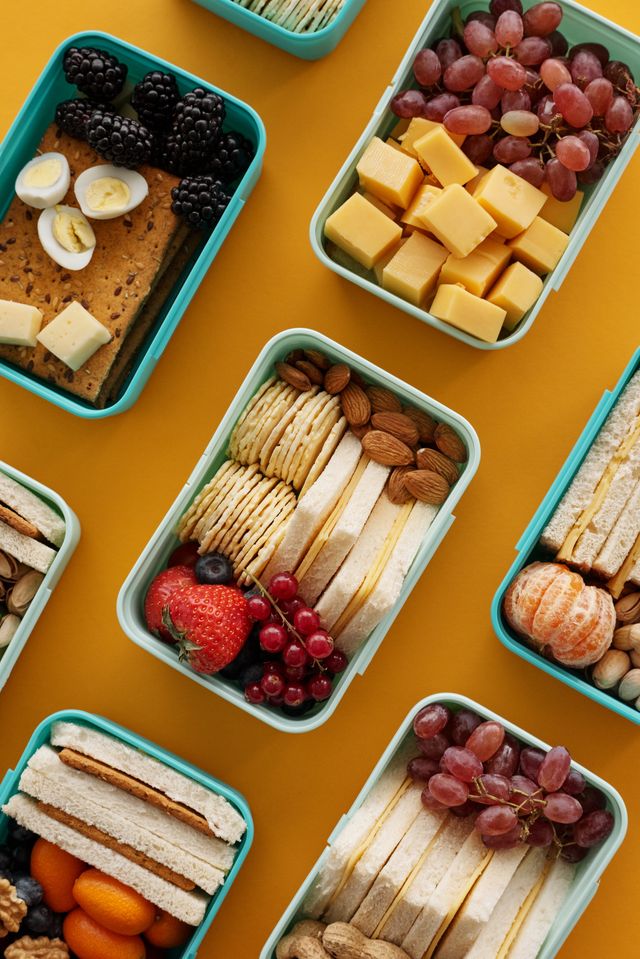
Healthy School Snack Bars Recipe Ideas
Focus on whole ingredients for balanced nutrition. Oats and seeds provide sustained energy while dried fruits add natural sweetness.
healthy school snack bars recipe variations emphasize nutrient density without refined excesses.
Easy No Bake Bars for Kids Lunchbox
These portable treats fit perfectly in lunch containers. Pair with fruit or yogurt for complete snacks.
easy no bake bars for kids lunchbox solve daily planning challenges effectively.
quick eggless snacks for kids become staples once the base technique is mastered.
5 FAQs
1. Can I make the eggless biscuit bars recipe gluten-free?
Yes. Use gluten-free biscuits or cookies and certified gluten-free oats. Check all add-ins for cross-contamination.
2. How long do these bars last in a school lunchbox?
They remain fresh for 4-6 hours when kept cool. Use an ice pack for longer periods.
3. What can replace condensed milk in the eggless biscuit bars recipe?
A mixture of ½ cup (120 ml) full-fat coconut milk simmered with 3 tablespoons (40 g) brown sugar works well.
4. Are these bars suitable for very young children?
Yes, when nut-free versions are prepared and fruits cut small. Supervise as with any solid food.
5. Can I double the eggless biscuit bars recipe?
Absolutely. Use a 9×13-inch (23×33 cm) pan and maintain the same chilling times.
Conclusion
This eggless biscuit bars recipe provides a reliable solution for wholesome, homemade snacks that fit seamlessly into even the busiest school-day routines. The straightforward method and flexible nature make it suitable for regular rotation, whether you are packing a single lunchbox or prepping a whole month’s worth of bars in advance.
What makes this recipe worth keeping in your regular rotation is how forgiving it is. Once you understand the basic ratio of biscuits, oats, and binders, you can experiment freely with variations, from a chocolate-packed version to a tropical fruit twist, without worrying about the bars falling apart. It is one of those easy no bake bars for kids lunchbox options that adapts to whatever ingredients are already sitting in your pantry.
For families juggling early mornings, this quick lunchbox snack bars recipe eliminates the daily stress of deciding what to pack. A single weekend batch, stored properly in the refrigerator or freezer, can carry you through two to three weeks of school snacks with almost no repeated effort. Combine that with the fact that kids can help make them, and you have a recipe that saves time while also becoming a small shared tradition in the kitchen.
Whether you are making these for the first time or adding your own twist to the base recipe, the core techniques covered here, proper pressing, adequate chilling, and balanced wet-to-dry ratios, will keep your results consistent every single time.