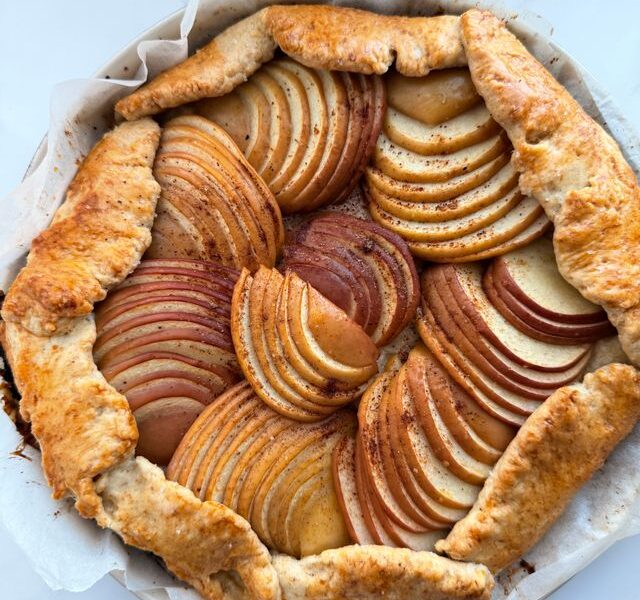
Discover this No Oven Apple Crisp, a quick stovetop apple crisp recipe perfect for beginners. Enjoy warm cinnamon apple crisp for fall with a crunchy oat topping in under 30 minutes—no baking required. Ideal easy apple dessert without oven.
Table of Contents
No Oven Apple Crisp: A Warm and Simple Delight for Any Season
This No Oven Apple Crisp delivers all the comforting flavors of a classic apple dessert without turning on the oven. Tender, spiced apples simmer gently on the stovetop, releasing their natural juices into a luscious sauce, while a golden, crunchy oat topping adds the perfect contrast in texture. Whether preparing a stovetop apple crisp recipe for a weeknight treat or a crowd-pleasing cozy fall dessert, this method proves both efficient and delicious.
Home cooks appreciate this no oven approach, especially during warmer months or busy evenings. This skillet apple crisp recipe comes together quickly using everyday pantry staples and fresh apples. It captures the essence of traditional apple crisp while offering convenience and reliability for new and experienced bakers alike.

No Oven Apple Crisp (Stovetop Apple Crisp)
Ingredients
Method
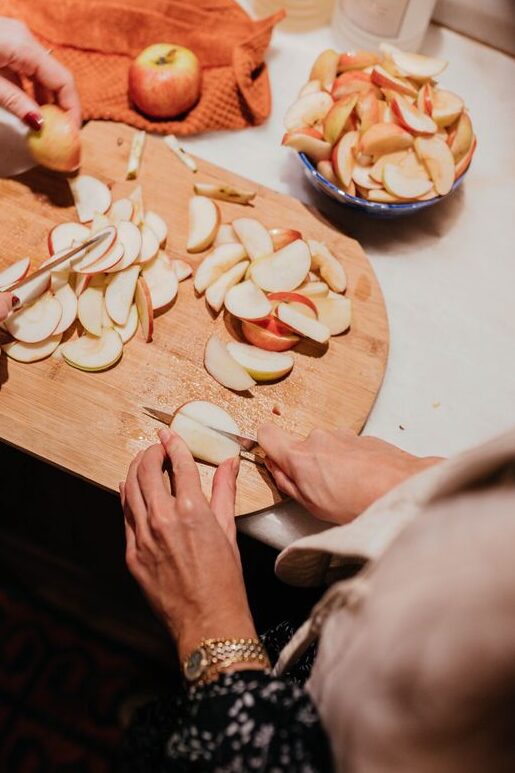
- Wash, peel, core, and chop the apples into even ½ inch pieces. Toss immediately with the lemon juice to prevent browning.
- In a small bowl, combine the rolled oats, flour, brown sugar, cinnamon, and salt. Drizzle in the melted butter and stir until clumpy and evenly moistened. Add the nuts if using, then set aside.
- Melt 2 tablespoons butter in a large skillet over medium heat. Add the apples, brown sugar, granulated sugar, cinnamon, vanilla, and salt, and stir to coat evenly. Cover and cook for 8 to 12 minutes, stirring occasionally, until the apples soften but still hold some bite. For a thicker sauce, stir in the cornstarch slurry during the last 2 to 3 minutes and cook until glossy.
- Reduce the heat to low and sprinkle the oat topping evenly over the apples. Cover and cook 3 to 5 minutes more until the topping warms through. For extra crunch, uncover and cook 1 to 2 minutes while stirring gently, or toast the topping separately in a dry pan before adding it.
- Remove from heat and let the crisp rest for 5 minutes to allow the sauce to thicken. Serve warm with vanilla ice cream, whipped cream, or yogurt.
Notes
- Use a mix of firm, tart apples like Granny Smith with a sweeter variety like Honeycrisp for the best flavor and texture balance.
- Store leftovers in an airtight container in the fridge for up to 4 days. Reheat gently on the stovetop with a splash of water to restore moisture.
- Freeze the apple filling separately for up to 2 months. Prepare fresh topping when ready to serve, as the assembled crisp does not freeze well.
- For gluten-free, use certified gluten-free oats and a gluten-free flour blend or almond flour in the topping.
Why Make a No Oven Apple Crisp?
Traditional apple crisp often requires oven time, but this stovetop version maintains the same irresistible combination of soft fruit and crisp topping. This stovetop approach allows precise control over doneness, preventing overcooked apples or soggy topping. It suits apartment dwellers, those with limited oven space, or anyone seeking a faster dessert.
This recipe aligns perfectly with cinnamon apple crisp for fall cravings or easy fall apple recipes year-round. Apples provide natural sweetness and fiber, while warm spices evoke comforting aromas. The entire process takes about 25-35 minutes from start to finish, making it an excellent choice for warm apple dessert for cold nights or spontaneous gatherings.
Ingredient Science: Understanding What Makes This Recipe Work
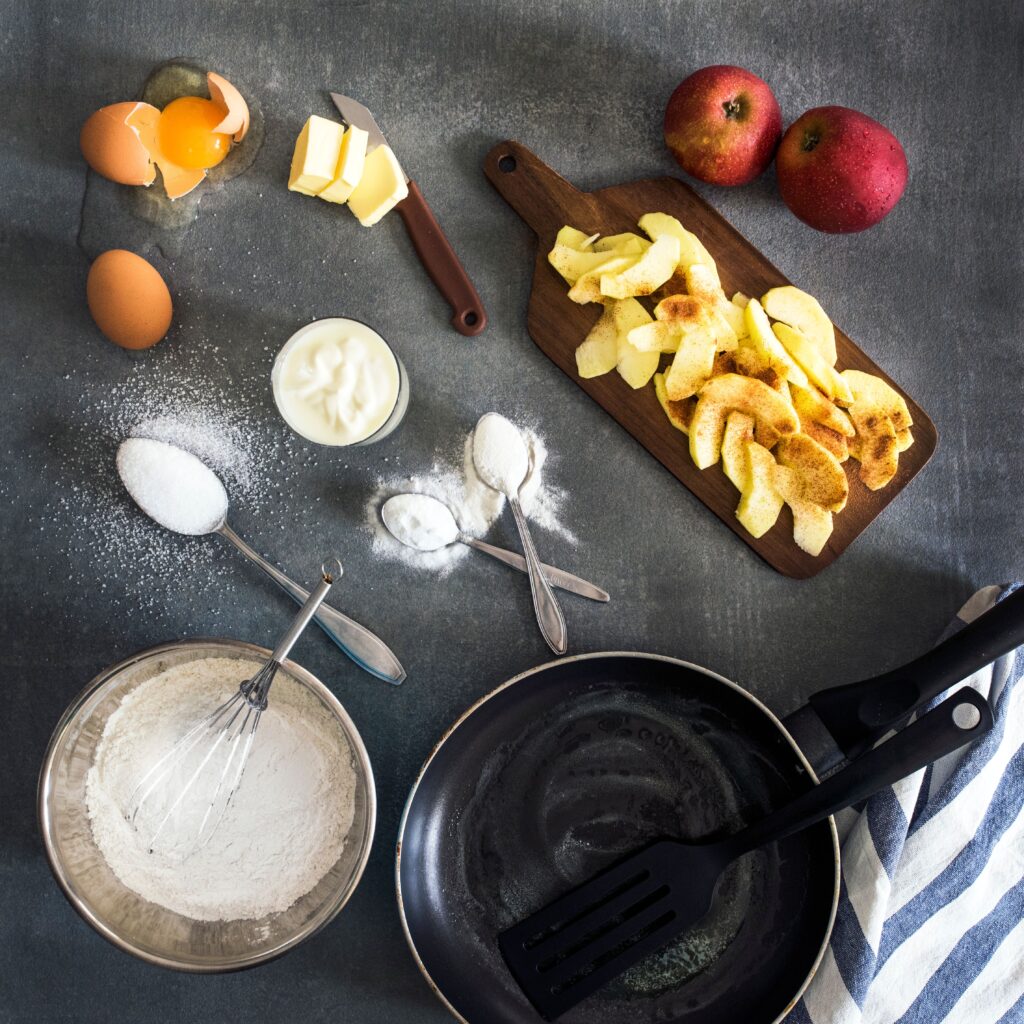
Selecting the right ingredients ensures optimal flavor, texture, and structure in a No Oven Apple Crisp.
Apples: Tart, firm varieties like Granny Smith hold shape during cooking due to high pectin and acid content, which strengthens cell walls and prevents mushiness. Their acidity balances sweetness and brightens flavors. Honeycrisp or a mix offers sweetness with structure. Sweeter apples like Gala or Fuji work well but may soften faster, requiring shorter cook times. Aim for a blend for complexity.
Sugars: Brown sugar adds molasses depth and moisture for caramelization on the stovetop. Granulated sugar provides clean sweetness and aids thickening. Together, they create a glossy sauce as apple juices release.
Spices: Cinnamon delivers warm, aromatic notes that enhance apple flavor through volatile oils. A touch of nutmeg or ginger adds complexity without overpowering. These spices activate during gentle heating, infusing the dish.
Lemon Juice: Acidity prevents browning (oxidation) and brightens the filling. It also helps pectin set for better sauce consistency.
Butter: Provides richness and helps toast the topping for crispness. Its fat carries fat-soluble flavors from spices.
Oats: Old-fashioned rolled oats deliver chew and crunch in the apple crisp with oats topping. They absorb moisture while toasting, creating texture. Quick oats soften more but work in a pinch.
Thickener (optional): A small amount of cornstarch creates a silky sauce by binding juices without gumminess when cooked properly.
Flour or Nuts: These add structure to the topping and nutty flavor.
Understanding these interactions allows adjustments for dietary needs or preferences while maintaining the dessert’s appeal as one of the best simple apple crisp for beginners.
Equipment Needed for Success
- Large skillet or cast-iron pan (10-12 inches) with lid for even heating and moisture control.
- Sharp knife and cutting board.
- Measuring cups and spoons (US and metric equivalents provided).
- Wooden spoon or silicone spatula.
- Small bowl for mixing topping.
- Optional: Apple corer/peeler for efficiency.
A heavy-bottomed skillet distributes heat evenly, reducing hot spots that could scorch the apples or topping.
Step-by-Step Instructions for No Oven Apple Crisp
This stovetop apple crisp recipe serves 6-8 people. Prep time: 10 minutes. Cook time: 15-20 minutes.
Apple Filling Ingredients (US / Metric)
- 6 medium-large apples (about 2.5-3 lbs / 1.1-1.4 kg), preferably Granny Smith or mix (peeled, cored, and cut into ½-inch / 1.3 cm chunks or slices)
- ⅓ cup packed brown sugar (67 g)
- ¼ cup granulated sugar (50 g)
- 1 tablespoon fresh lemon juice (15 ml)
- 1 teaspoon ground cinnamon (5 ml)
- ½ teaspoon vanilla extract (2.5 ml)
- ¼ teaspoon salt (1.25 ml)
- 2 tablespoons unsalted butter (28 g)
- Optional: ½ teaspoon cornstarch (2.5 ml) mixed with 1 tablespoon water for thicker sauce
Oat Topping Ingredients (US / Metric)
- 1 cup old-fashioned rolled oats (90 g)
- ⅓ cup all-purpose flour (40 g) or almond flour for gluten-free
- ⅓ cup packed brown sugar (67 g)
- ½ teaspoon ground cinnamon (2.5 ml)
- ¼ teaspoon salt (1.25 ml)
- 4 tablespoons unsalted butter, melted (57 g)
- Optional: ⅓ cup chopped pecans or walnuts (40 g) for extra crunch
Step 1: Prepare the Apples Wash, peel (optional for more texture/fiber), core, and chop the apples into even ½-inch pieces. Uniform size ensures even cooking. Toss immediately with lemon juice to prevent browning. This step highlights why firm apples excel in easy fall apple recipes—they maintain integrity on the stovetop.
Step 2: Make the Oat Topping In a small bowl, combine rolled oats, flour, brown sugar, cinnamon, and salt. Drizzle in melted butter and stir until clumpy and evenly moistened. Add nuts if using. Set aside. This mixture toasts beautifully, creating the signature crunch of an apple crisp with oats topping.
Step 3: Cook the Apple Filling Melt 2 tablespoons butter in a large skillet over medium heat. Add prepared apples, brown sugar, granulated sugar, cinnamon, vanilla, and salt. Stir to coat evenly. Cover and cook for 8-12 minutes, stirring occasionally, until apples soften but retain some bite. Fork-tender is the goal—juices should release and begin to bubble. For thicker sauce, stir in the cornstarch slurry during the last 2-3 minutes and cook until glossy. Adjust heat to avoid scorching; lower if needed. This gentle simmering develops deep flavors characteristic of cinnamon apple crisp for fall.
Step 4: Add the Topping and Finish Reduce heat to low. Sprinkle the oat topping evenly over the apples. Cover and cook 3-5 minutes more until topping warms and crisps slightly from steam and residual heat. For extra crunch, uncover and cook 1-2 minutes while stirring gently, or transfer topping to a separate small pan to toast independently before sprinkling. Remove from heat.
Step 5: Rest and Serve Let the No Oven Apple Crisp rest 5 minutes. The sauce thickens further. Serve warm with vanilla ice cream, whipped cream, or yogurt for contrast.
Total yield: Approximately 6-8 servings. Each serving offers comforting warmth ideal for warm apple dessert for cold nights.
Variations to Suit Every Preference
This versatile skillet apple crisp recipe welcomes customization while keeping the core method intact.
Berry Apple Crisp: Add 1 cup (150 g) fresh or frozen blueberries or cranberries to the apples during cooking for tart bursts and vibrant color.
Gluten-Free Version: Use certified gluten-free oats and almond flour or gluten-free flour blend in the topping. The texture remains excellent.
Pecan or Nutty Crisp: Increase nuts to ½ cup (60 g) and toast them lightly in the topping for deeper flavor.
Lower Sugar Option: Reduce sugars by 25-30% and rely on sweeter apples like Honeycrisp or Fuji. Add a pinch of nutmeg for warmth.
Spiced Chai Twist: Incorporate ¼ teaspoon ground ginger, cardamom, and cloves for a chai-inspired cinnamon apple crisp for fall.
Single-Serve Portions: Divide into smaller skillets or ramekins on the stovetop for individual easy apple dessert without oven servings.
Vegan Adaptation: Use plant-based butter and serve with coconut whipped cream or dairy-free ice cream.
These variations expand the simple apple crisp for beginners into multiple delightful options.
Serving Suggestions
Pair this No Oven Apple Crisp with scoops of vanilla bean ice cream—the cold creaminess melts into the warm apples for ultimate contrast. For brunch, serve over Greek yogurt with a drizzle of maple syrup. It complements coffee, tea, or spiced cider. Garnish with fresh apple slices or a dusting of cinnamon for presentation.
Storage Tips
Store leftovers in an airtight container in the refrigerator for up to 4 days. The topping may soften slightly but remains enjoyable. Reheat gently on the stovetop over low heat with a splash of water or apple juice to restore moisture, or microwave in short bursts.
For longer storage, freeze the apple filling separately up to 2 months. Thaw overnight in the fridge and prepare fresh topping before serving. Avoid freezing the assembled crisp, as texture suffers. Always cool completely before refrigerating to prevent condensation.
Common Mistakes to Avoid
- Overcooking Apples: Monitor closely—mushy apples lose appeal. Use a timer and test with a fork.
- Uneven Topping: Distribute evenly to ensure every bite has crunch. Stirring too aggressively can incorporate it into the filling.
- High Heat: Medium to low heat prevents burning sugars or spices. Patience yields better caramelization.
- Skipping Lemon Juice: This leads to discoloration and flatter flavor.
- Wrong Apple Varieties: Soft apples like Red Delicious break down too much. Stick to firm, tart-sweet options.
- Dry Topping: Ensure enough butter for proper clumping and toasting.
- Not Resting: Serving immediately results in runnier sauce. The brief rest improves consistency.
Avoiding these ensures consistent success with this stovetop apple crisp recipe.
Troubleshooting Your No Oven Apple Crisp: Fixing Common Texture and Consistency Problems
Even with a solid recipe, stovetop cooking behaves differently from oven baking, and small variables like skillet material, apple variety, or stove heat output can change the outcome of your No Oven Apple Crisp. Below are the most common problems readers run into, along with the exact reason they happen and how to fix them the next time around.
Problem: The sauce stays watery and never thickens
This is the single most common issue with a No Oven Apple Crisp. Unlike an oven, where excess moisture slowly evaporates over 40 to 50 minutes, a covered skillet traps steam, which keeps the filling wetter for longer. If your sauce looks thin even after 10 to 12 minutes of cooking, the apples likely released more juice than the recipe accounted for, which happens more with very ripe or juicy varieties like Honeycrisp.
Fix: Uncover the skillet for the last 2 to 3 minutes of cooking to let excess steam escape, and make sure to use the cornstarch slurry step rather than skipping it. If the sauce is still thin after adding the slurry, mix a second small batch, ½ teaspoon cornstarch with 1 tablespoon cold water, and stir it in over medium heat for another minute. Never add dry cornstarch directly to a hot pan, as it will clump instead of thickening evenly.

Problem: The apples turn mushy instead of holding their shape
Because a No Oven Apple Crisp cooks in direct contact with a hot pan rather than surrounded by dry oven heat, apples can overcook faster than expected, especially if the heat is too high or the pan is left covered too long.
Fix: Choose firmer, tart varieties like Granny Smith, which hold their structure better under stovetop heat due to their higher pectin and acid content. If you prefer a sweeter variety, mix it with at least one firm apple rather than using an all-soft blend. Also check doneness starting at the 8 minute mark rather than waiting the full 12, since stovetop cooking times vary more by skillet type than oven baking does.
Problem: The oat topping turns soggy instead of staying crisp
This is the most common complaint with a No Oven Apple Crisp, since the topping is added directly on top of a moist filling instead of baking dry in an oven. If the topping is combined with the apples too early, or left covered for too long, steam softens it before it has a chance to set.
Fix: Always toast the oat topping separately first, either in the same skillet before adding the apples or in a second dry pan, so it develops crunch on its own before touching any moisture. When assembling, sprinkle the topping on at the very end and keep the cover on for no more than 3 to 5 minutes, just long enough to warm it through. For maximum crunch, skip the covered step entirely and simply spoon the toasted topping over each serving right before eating, rather than cooking it together with the apples at all.
Problem: The topping burns before it turns golden
Because the topping toasts directly in a dry, uncovered pan, the margin between golden and burnt is much narrower on the stovetop than in an oven, where heat is more evenly distributed.
Fix: Use medium-low heat rather than medium, and stir the topping every 30 to 60 seconds once it starts to smell toasted. If your stove runs hot, pull the pan off the heat entirely for a few seconds between stirs to slow the browning down. A lighter colored skillet also makes it easier to judge color accurately compared to a dark nonstick or cast iron pan.
Problem: The finished crisp tastes flat or under-spiced
Since a No Oven Apple Crisp cooks for a much shorter time than a baked version, there is less time for spices to fully infuse into the filling, which can leave the final dish tasting less developed.
Fix: Add the cinnamon and nutmeg at the very start of cooking, not at the end, so they have the full cooking time to bloom in the melted butter before the apples release their juices. A small pinch of salt in both the filling and the topping also sharpens the overall flavor without making the dish taste salty. If the flavor still feels flat after cooking, a few drops of fresh lemon juice stirred in right before serving can brighten the whole dish.
Problem: The crisp turns out different every time depending on the pan used
Skillet material affects heat distribution more than most people expect. Cast iron holds and radiates heat longer, which can overcook apples if you are not watching closely, while thin aluminum pans heat and cool quickly, which sometimes leaves the filling undercooked in the center.
Fix: If using cast iron, reduce the heat slightly and expect faster cooking times. If using a thin or nonstick pan, stir more frequently to prevent uneven hot spots. A heavy bottomed stainless steel skillet tends to give the most consistent results for this recipe, since it heats evenly without holding excessive residual heat the way cast iron does.
Working through these adjustments once or twice is usually enough to dial in the exact texture you prefer, whether that means a saucier filling, a firmer bite from the apples, or an extra crunchy topping. Once you understand how your specific stove and pan behave, a No Oven Apple Crisp becomes one of the most reliable stovetop desserts to repeat, since every variable is visible and adjustable in real time rather than hidden behind a closed oven door.
Nutritional Information (Approximate per Serving)
Calories: 280-350 (varies with toppings). High in fiber from apples and oats; provides vitamin C and antioxidants. Moderation is key due to sugars and butter, but it offers a more wholesome option than many desserts.
5 Frequently Asked Questions
1. Can I make this No Oven Apple Crisp ahead of time?
Yes. Prepare the filling and topping separately. Store in the fridge and combine/reheat just before serving for best texture.
2. What if I don’t have rolled oats?
Quick oats substitute, though the topping will be less chewy. Chopped nuts or granola offer alternatives for crunch.
3. Is this recipe suitable for gluten-free diets?
Absolutely, with certified gluten-free oats and appropriate flour. It retains all the appeal of a classic apple crisp with oats topping.
4. How do I adjust for more or fewer servings?
The recipe scales easily. For 4 servings, use about 4 apples and reduce other ingredients by one-third. Taste and adjust sweetness.
5. Can I use this as a topping for other dishes?
Yes! The apple filling pairs wonderfully with pancakes, oatmeal, or pork chops, expanding its use beyond a standalone cozy fall dessert recipes option.
This No Oven Apple Crisp brings together simplicity, flavor, and convenience in one skillet. Its stovetop apple crisp recipe nature makes it accessible, while the science-backed ingredients and clear steps ensure delicious results every time. Whether craving easy fall apple recipes or a reliable quick apple crisp no bake style dessert, this dish delivers warmth and satisfaction. Enjoy creating and sharing this comforting treat.