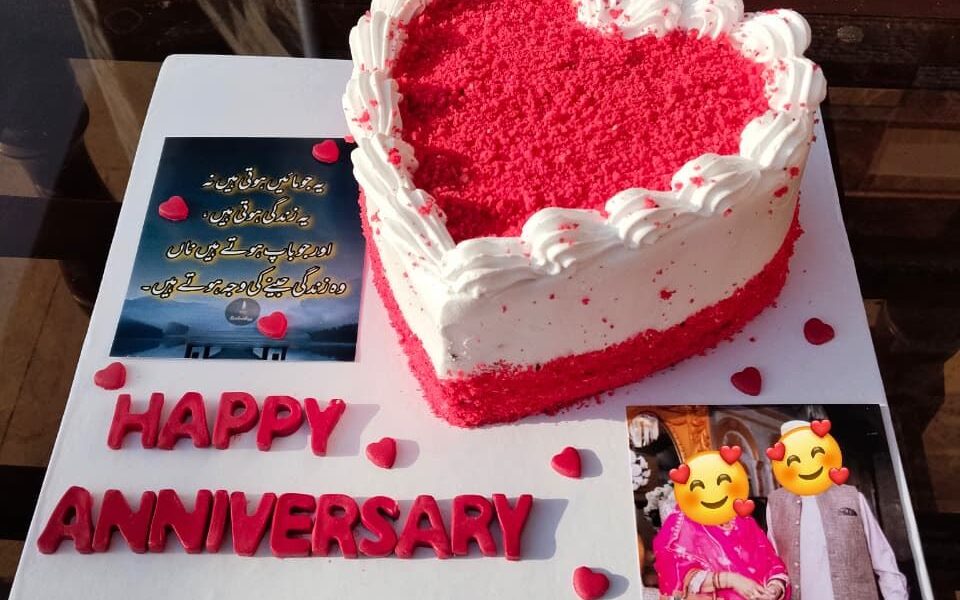
This easy red velvet cake recipe from scratch gives you soft, moist layers with perfect cream cheese frosting. Beginner friendly tips, step by step instructions and common mistakes to avoid inside.
Table of Contents
Red Velvet Cake Recipe: Easy Homemade Recipe for Moist, Luscious Layers
You already know red velvet looks special, but this red velvet cake recipe shows you exactly what gives it that tender crumb and mild chocolate flavor. This post shows you the key ingredients, simple steps, and tasty frosting choices so you can make a classic red velvet cake that actually tastes as good as it looks.
You’ll learn which ingredients matter, how to bake moist layers, and which frostings and twists work best — so you can bake with confidence. Expect clear instructions, practical tips for storing and serving, and a few fun variations to try next time you want something a little different.
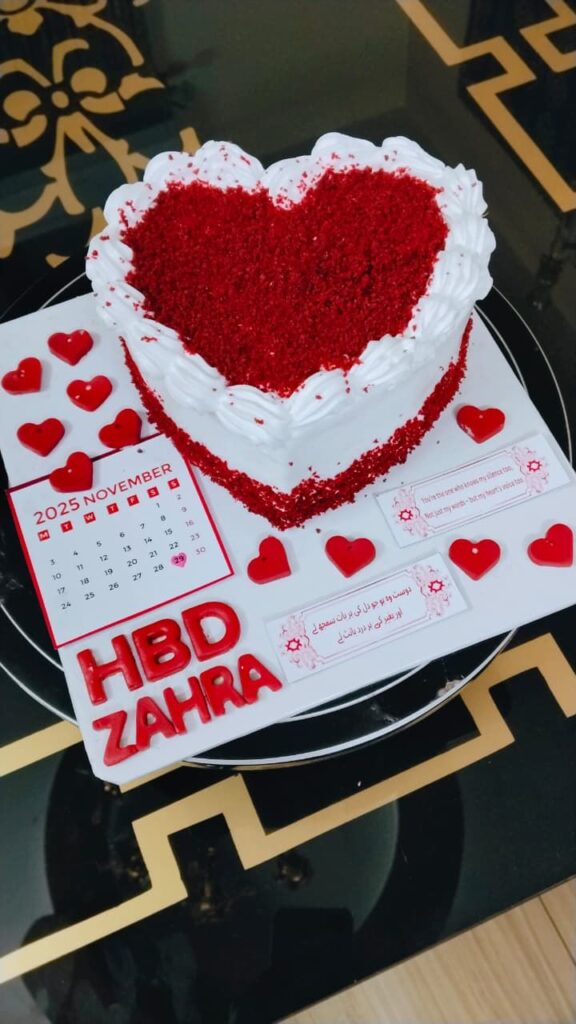
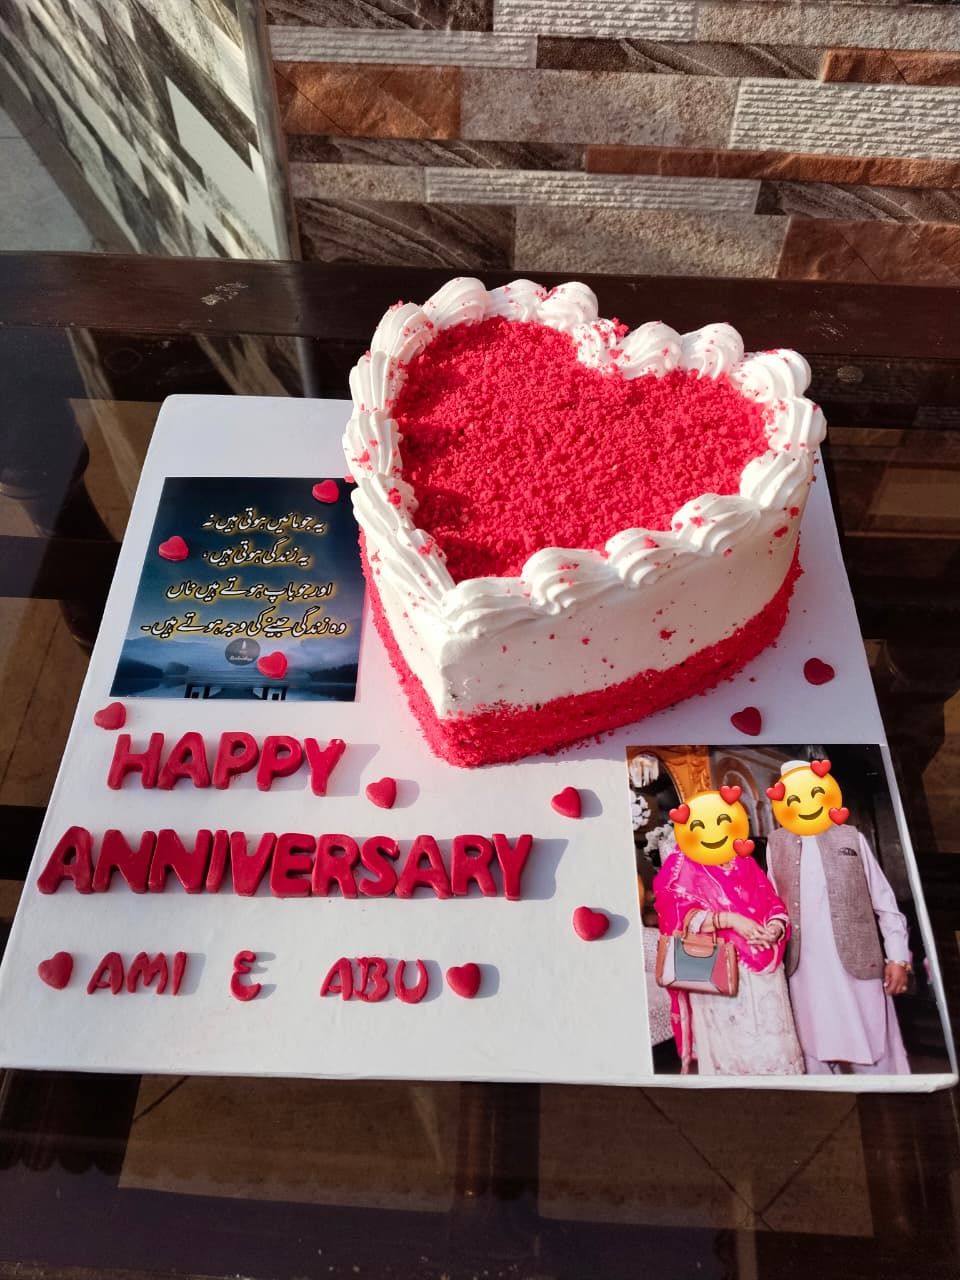
Follow this red velvet cake recipe and you’ll finish a cake that’s soft, slightly tangy, and ready to impress at any gathering.
Ingredients
Method
- Preheat oven to 350F (175C). Grease two 9 inch round cake pans and line with parchment paper.
- Whisk together cake flour, sugar, baking soda, salt and cocoa powder in a large bowl.
- In a separate bowl mix eggs, buttermilk, oil, vanilla, vinegar and red food coloring until combined.
- Add wet ingredients to dry ingredients in two additions. Mix until just combined. Do not overbeat.
- Divide batter evenly between the two pans.
- Bake for 25 to 30 minutes until a toothpick comes out with a few moist crumbs.
- Cool in pans for 10 minutes then transfer to wire racks to cool completely.
- Beat cream cheese and butter until smooth. Add powdered sugar and vanilla and beat until fluffy.
- Level cake layers if needed. Frost the first layer, stack the second, then frost the top and sides.
- Chill for 15 minutes before slicing and serving.
Classic Ingredients for Red Velvet Cake Recipe
This section explains which ingredients shape texture, flavor, and color. You’ll learn why each component matters and how small changes affect the final cake.
Essential Components
This red velvet cake recipe needs: cake flour, sugar, butter (or oil), eggs, cocoa powder, and cream cheese for the frosting. Cake flour yields a finer crumb. If you only have all-purpose flour, measure and sift it to avoid a dense cake.
Sugar adds sweetness and helps tenderize the crumb. Butter gives flavor and structure; oil makes the cake moister. Eggs provide lift and help set the cake’s structure. A small amount of cocoa powder gives the classic light chocolate note without overpowering the red color.
Cream cheese, butter, and powdered sugar make the traditional frosting. Use full-fat cream cheese for taste and stability. Chill the assembled cake briefly if your kitchen is warm so the frosting holds its shape.
The Science of Buttermilk and Vinegar
In this red velvet cake recipe, buttermilk and vinegar both react with baking soda to create carbon dioxide bubbles. Those bubbles lighten the batter and give a tender crumb. Buttermilk also adds acidity that brightens flavor and helps the cocoa powder develop that subtle chocolate note.
If you don’t have cultured buttermilk, make a substitute: add 1 tablespoon white vinegar or lemon juice to 1 cup of milk, let sit 5–10 minutes. That mimics acidity but may slightly change texture. Use the exact amounts called for; too much acid can weaken structure.
Vinegar’s role is small but important. A teaspoon or so enhances the red hue by reacting with cocoa’s natural compounds. The result is a softer crumb and truer red tone without adding tangy flavor.
Choosing the Right Food Coloring
Gel food coloring gives the best red without thinning the batter. A few drops of gel concentrated color provide deep red while keeping batter consistency. Liquid dye requires much more and can make the batter runny.
Start with 1/2 teaspoon gel per standard two-layer recipe and adjust to your preference. If you prefer natural color, use beet powder or juice, but expect a different flavor and a more muted red.
Use a neutral-tasting, oil- or water-based gel depending on your other ingredients. Mix color thoroughly to avoid streaks, and remember that baked color can shift slightly, so test with a small batch if exact shade matters.
How to Make Red Velvet Cake Recipe Step by Step
You will mix ingredients carefully, preheat the oven to the right temperature, and cool the layers properly before frosting. Small steps—measuring, sifting, and timing—make the biggest difference in texture and rise.
Preparation Tips for Batter
Measure ingredients with dry measuring cups for flour and sugar, and liquid cups for buttermilk or oil. Spoon flour into the cup and level with a knife; do not pack it down. Use room-temperature eggs and butter to help the batter emulsify and trap air.
Sift or whisk the dry ingredients (flour, cocoa, baking soda, salt) together to remove lumps and distribute the cocoa evenly. Mix the wet ingredients separately: buttermilk, oil, vinegar, vanilla, and beaten eggs. Add red food coloring to the wet mix so color blends evenly.
Combine wet and dry ingredients in two or three additions. Mix until just combined—streaks of flour should disappear but don’t overbeat. Overmixing makes the cake dense. Scrape the bowl sides and fold gently with a spatula for an even batter.
Oven Temperature and Timing
Preheat the oven to 350°F (175°C) for standard cake pans. If you use dark or nonstick pans, lower the temperature by 25°F (about 15°C) to prevent over-browning. Place oven racks in the center for even heat. This red velvet cake recipe bakes best at 350°F (175°C).
Bake single 9-inch round pans for about 25–30 minutes. For 8-inch pans, expect 28–33 minutes. Start checking at the lower end of the time range. The cake is done when a toothpick inserted in the center comes out with a few moist crumbs, not wet batter.
Rotate pans halfway through baking only if your oven has hot spots. Avoid opening the oven door in the first 20 minutes; sudden temperature drops can cause sinking. Let cakes rest in pans for 10 minutes, then run a knife around the edge before inverting.
Layering and Cooling Methods
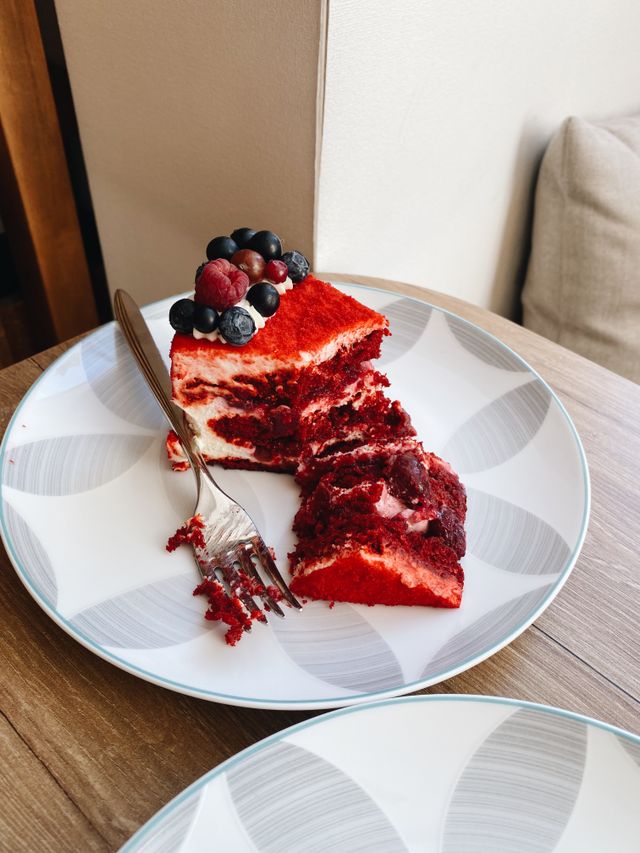
For this red velvet cake recipe, cool cakes completely on wire racks before stacking or frosting. Leave them upright to avoid trapping steam, which can make frosting slip. For faster cooling, remove cakes from pans and place directly on racks; don’t stack while warm.
Level domed tops with a long serrated knife or cake leveler so layers sit flat. If you want taller layers, slice each cake in half horizontally to make four thinner layers. Brush each cut surface with simple syrup (equal parts sugar and water) to add moisture.
When you crumb-coat, apply a thin layer of frosting and chill the cake for 15–30 minutes to set it. Then add the final coat of frosting and smooth with a bench scraper. Chill again for 10–15 minutes before serving to let the frosting firm up.
Frosting Styles and Pairings
Pick a frosting that balances the cake’s mild cocoa, tang from buttermilk, and tender crumb. Think about sweetness level, texture, and how the frosting will hold up at room temperature or during transport.
Cream Cheese Frosting Basics
Cream cheese frosting is the classic match for this red velvet cake recipe because its tang cuts sweetness and highlights the cake’s buttermilk flavor. To make it, beat full-fat cream cheese and unsalted butter until smooth, then add sifted powdered sugar and a splash of vanilla. Chill briefly before spreading so it keeps a clean finish.
For stability, use a ratio near 8 oz cream cheese : 4 oz butter : 2–3 cups powdered sugar. If you need stiffer frosting for piping, add a little more powdered sugar or chill the bowl. For a lighter result, whip in 1/4 cup of whipped cream or use less sugar.
Keep the cake refrigerated for long storage, but serve it at room temperature for best flavor. If you transport the cake, pack it in a cooler or use a stabilizer like a small amount of cream cheese mixed with buttercream.
Alternative Frosting Options
You can swap cream cheese for other frostings if you want a different taste or better heat tolerance. Vanilla buttercream gives a sweeter, richer profile and pipes well for decorative work. Swiss meringue buttercream is smoother and less sweet, with good stability in warm kitchens.
Chocolate ganache adds a glossy, rich layer that pairs nicely with the cake’s cocoa notes. For a lighter touch, use stabilized whipped cream or mascarpone whipped cream—both give creaminess without heavy sweetness. Coconut-pecan or berry buttercream brings nutty or fruity contrast if you want an unusual flavor.
Match the frosting texture to the cake: dense frostings with dense layers, and light frostings with airy layers. Consider shelf life and how long the cake will sit before serving.
Decoration Techniques
Simple decorations make red velvet look elegant without hiding its color. Smooth the frosting using an offset spatula and chill between coats to get clean edges. Use a crumb coat (thin layer of frosting) to trap crumbs before the final layer.
For piping, use medium round or star tips for rosettes and borders. Pressed crumbs or fresh berries on top add contrast; toasted nuts add crunch. If you use ganache, pour while slightly warm for a smooth drip; chill briefly to set the drip before adding final decorations.
Popular Variations and Modern Twists
You’ll find red velvet reimagined in many forms that keep the cake’s soft crumb and mild cocoa while adding new textures, diets, and flavors. Expect bite-sized options, allergy-friendly swaps, and bold infusions that change the experience without losing the signature cream cheese pairing.
Cupcakes and Mini Desserts
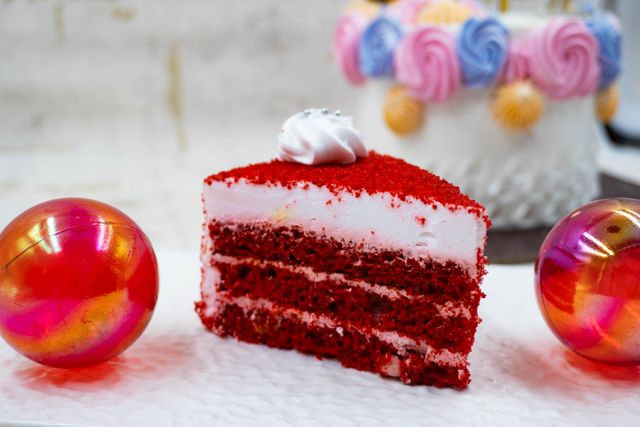
This red velvet cake recipe batter also works perfectly for cupcakes but give you faster bake times and easy portion control. Use standard red velvet batter in a 12-cup muffin tin; bake 18–22 minutes at 350°F (175°C). For uniform domes, chill batter briefly before scooping and avoid overmixing.
Try these small-format ideas:
- Mini layer cakes: Bake in 3-inch tins and stack two layers with cream cheese frosting.
- Cake pops: Crumble baked cake, mix with frosting, roll, chill, then dip in chocolate.
- Brownie-style bars: Press batter into a sheet pan for denser, fudgier slices.
Top cupcakes with piping for neat presentation. Add a small chocolate curl or freeze-dried raspberry for contrast. These formats work well for parties, bakeries, and portion-conscious desserts.
Vegan and Gluten-Free Adaptations
You can keep red velvet’s texture and tang while meeting dietary needs. For vegan cakes, replace eggs with flax or chia “eggs” (1 tbsp ground seed + 3 tbsp water per egg) and use non-dairy milk plus vinegar to mimic buttermilk. Use vegan butter or neutral oil for fat.
For gluten-free versions, use a 1:1 gluten-free flour blend with xanthan gum if it lacks binder. Rice and sorghum blends work well when balanced with potato starch for tenderness. Measure flour by weight to avoid dryness.
Frosting swaps:
- Vegan cream cheese: Use store-bought or make cashew-based cream cheese.
- Stabilized frostings: Add a touch of cornstarch or aquafaba to improve hold in warm settings.
Test bake a small batch to adjust liquid and bake time; gluten-free batters often need slightly longer at lower heat.
Unique Flavor Infusions
You can introduce new notes without hiding classic red velvet traits. Common infusions include:
- Citrus zest (orange or lemon): Add 1–2 tsp zest to batter for brightness.
- Spiced versions: Fold in 1/2 tsp cinnamon or a pinch of nutmeg for warmth.
- Berry fold-ins: Swirl raspberry or strawberry puree into batter for tart streaks.
Boozy options lift adult desserts. Brush cake layers with simple syrup mixed with bourbon, rum, or coffee liqueur for depth. For a modern twist, swap part of the cocoa for matcha or beet powder to shift color and flavor; reduce quantity to balance bitterness.
When adding liquids (purees or alcohol), reduce other liquids slightly to keep crumb structure. Small changes—zest, spice, or a splash of liqueur—can make a familiar cake feel new while keeping texture and frosting that people expect.
Serving Ideas and Storage Tips
Serve red velvet at the right temperature and protect it from air and heat to keep texture and flavor. Use simple plating and clear storage steps so each slice stays moist and safe.
Creative Presentation Suggestions
Plate single slices on small dessert plates for a neat look. Add a thin dusting of cocoa or a few fresh berries for color contrast. You can pipe a small rosette of cream cheese frosting at the edge of each slice for a polished finish.
For parties, assemble a small dessert board: cut cake into squares, add chocolate curls, strawberries, and mini spoons. If you serve warm, let the cake sit 10–15 minutes after refrigeration so the frosting softens. For cupcakes, top each with a swirl of frosting and a sprinkle of crushed red velvet crumbs for texture.
Make-Ahead and Freezing Guidance
If you need to make this red velvet cake recipe ahead of time, bake and cool layers completely before wrapping. Wrap each layer tightly in plastic wrap, then in foil, and store in the fridge up to 48 hours if using cream cheese frosting. This prevents bacterial growth and keeps frosting stable.
For longer storage, freeze uniced layers for up to 3 months. Thaw in the fridge overnight, then bring to room temperature 30–60 minutes before frosting. If you freeze a fully frosted cake, flash-freeze uncovered for 1–2 hours, then wrap gently to avoid crushing the frosting; thaw in the fridge to reduce condensation.
FAQs
How do I make red velvet cake recipe without buttermilk?
Mix 1 cup or 240ml of whole milk with 1 tablespoon or 15ml of white vinegar. Stir and let it sit for 5 minutes. It will curdle slightly and that is exactly what you want. Use it just like buttermilk in this buttermilk cake recipe easy swap.
Why did my red velvet cake turn out brown instead of red?
This usually happens when too much cocoa powder is used or the food coloring is not enough. Stick exactly to the measurements in this recipe and use gel food coloring for the best results.
Can I make this as a two layer cake recipe for beginners?
Yes, this recipe is written specifically as a two layer cake recipe for beginners. The steps are simple and straightforward. Just make sure both layers are fully cooled before you stack and frost them.
How do I make red velvet cake moist?
The secrets to a moist red velvet cake from scratch are oil instead of butter in the batter, buttermilk for tenderness, and not overbaking. Pull the cakes out as soon as the toothpick comes out clean.
Can I learn how to make red velvet cake at home without special equipment?
Absolutely. You do not need a stand mixer or any fancy tools. A hand whisk and a spatula are enough. This is genuinely one of the easiest ways to learn how to make red velvet cake recipe at home with simple everyday tools.
Red velvet cake recipe has this magic quality where it feels fancy but is actually very forgiving once you understand the basics. The most important things are room temperature ingredients, gentle mixing, and patience when it comes to cooling. Get those three things right and you will have a cake that looks like it came from a professional bakery.
Give this recipe a try and let me know in the comments how it turned out. I love seeing your bakes!